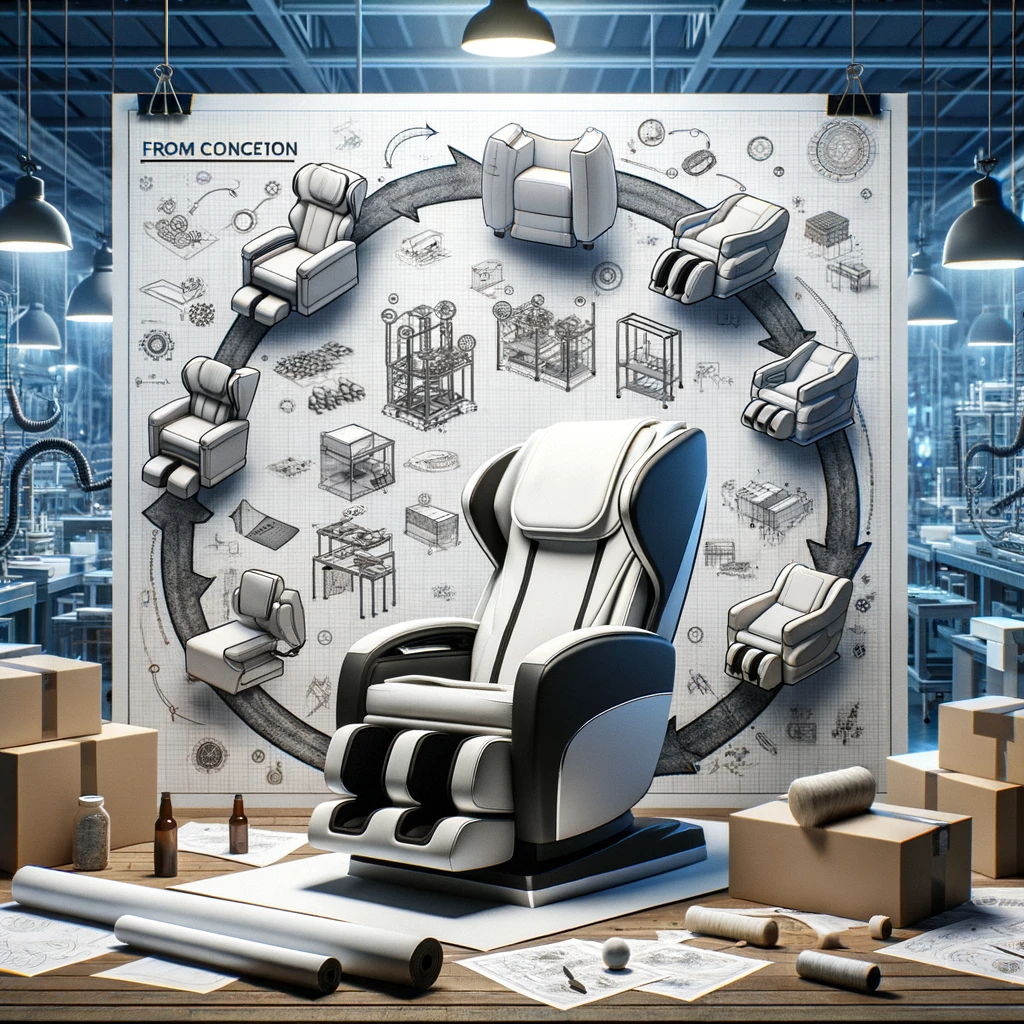
The massage chair you adore took a long road to reach your home. It began as a mere concept, evolved through detailed designs, and underwent rigorous testing. But how massage chairs work right from the drawing board to when they hum into action? Let’s trace the fascinating lifecycle of these relaxation masterpieces.
Crafting Comfort: The Journey of a Massage Chair.
1. The Spark: Ideation and Conceptualization
Every great product starts with a brilliant idea. For massage chairs:
Market Research: Understanding customer needs, current trends, and gaps in the market.
Inspiration: Drawing from traditional massage techniques, new technologies, or even therapeutic practices from around the world.
2. Detailed Design: Crafting the Blueprints
Once the concept is clear, the technicalities come into play:
Ergonomic Considerations: Ensuring the chair design caters to diverse body shapes and sizes.
Component Layout: Deciding the placement of rollers, airbags, heating elements, and other mechanisms.
Aesthetic Choices: Picking materials, colors, and styles that are both functional and visually appealing.
3. Prototyping: Breathing Life into Ideas
With designs in hand, a prototype is created:
Material Testing: Selecting durable and comfortable materials.
Mechanical Tests: Ensuring rollers, airbags, and other parts work in sync.
User Trials: Getting feedback on comfort, functionality, and user experience.
4. Rigorous Testing: Ensuring Perfection
Before mass production, prototypes undergo stringent tests:
Durability Testing: Simulating years of usage to guarantee longevity.
Safety Checks: Ensuring all electrical and mechanical components meet safety standards.
Comfort Evaluation: Ensuring the chair delivers the intended relaxation and therapeutic effects.
5. Production: Manufacturing Magic
Post-approval, the chair enters the production phase:
Assembly Line Setup: Organizing the production flow, from component assembly to final product testing.
Quality Control: Random sampling and testing during production to maintain standards.
Final Touches: Adding software, sound systems, or any other advanced features.
6. Packaging & Delivery: Bringing It Home
The final steps before the chair reaches users:
Secure Packaging: Ensuring the chair is protected from potential damages during transit.
Logistics: Planning efficient delivery, from factory to retailers or direct to consumers.
Installation Support: Some high-end models might require professional installation, so ensuring customer support is crucial.
User Feedback: Companies actively seek reviews and feedback to refine future models.
Technological Advancements: Incorporating new tech or features as they become available.
Sustainability Considerations: As the world moves towards sustainability, designs might evolve to be more eco-friendly.
Conclusion
The massage chair in your living space is not just a product but a culmination of countless hours of design, testing, and refinement. It’s a testament to human innovation, aiming to replicate the soothing touch of a human hand with machinery. From concept to creation, understanding how massage chairs work sheds light on the brilliance and hard work that goes into every hum, roll, and squeeze they deliver.
It doesn’t have to be complicated or tough to lose weight. Despite the fact that there are no quick cures, there are several tried and true methods that might help you shed the pounds.
With that in mind, we’ve put together the following list of weight loss pointers.
Learn more about us on our website. With the support of cutting-edge nutrition research and individualized meal plans, Evolve180 (https://www.evolve180weightloss.com/) is a weight loss studio dedicated to helping you lose weight and keep it off for good.
Keep breakfast a priority and never miss it.
You will not lose weight by skipping breakfast. In fact, if you’re always hungry, you can find yourself overeating later on.
Look at food labels
To make better food choices, it’s helpful to know what’s on the label.
Prepare your meals in advance.
Make a weekly food plan and try to stay below your daily calorie allotment while you are eating out. Having a weekly grocery list might be beneficial.
Ensure that you are eating regularly throughout the day.
It’s easier to lose weight if you eat at regular intervals to keep your metabolism going. By avoiding high-fat and sugary snacks, you’re reducing your overall caloric intake.
If you eat later in the evening, it is unlikely that you would gain weight more quickly since there is no data to support this claim.
Making sure you eat at regular intervals throughout the day and spreading out your food consumption is critical for maintaining a healthy relationship with your appetite
As a result, it is up to the individual whether or not they prefer eating three large meals each day or three smaller meals each day. As a result of eating less, you will lose weight.
Lesser plates and bowls allow you to consume smaller quantities without feeling deprived since you’ll be used to doing so.
Reduce the speed of the game.
The stomach takes around 20 minutes to signal the brain that it’s full, so eat carefully and stop eating before you feel full.
Plenty of fruits and vegetables are necessary for a healthy diet
There are several health benefits to eating a diet heavy in fruits and vegetables, which are low in calories and fat. As a bonus, they’re loaded with nutrients that may help you shed pounds while also staving off cravings.
Consume plenty of fruits, vegetables, and whole grains.
To help you lose weight, eat foods high in fiber, which will keep you feeling fuller longer. Oats, wholegrain bread, brown rice, and pasta are all good sources of fiber. Fruits and vegetables also contain fiber.
Get out and about more.
A healthy diet and regular exercise are essential to reducing weight and keeping it off long-term. Find a hobby or activity you like and can fit into your schedule.
Drink lots of fluids.
The two might be mistaken at times. So, the next time your stomach grumbles, go for some water instead.
Avoid imposing a restriction on certain food items.
Trying to lose weight by cutting out certain meals may simply increase your cravings. The odd splurge may still be enjoyed as long as you keep your overall diet in mind.
Consciously consume your snacks.
Always have fruit, unsalted rice cakes or unsweetened popcorn on available as healthy alternatives to high-fat junk food.
Reduce your use of alcohol.
Many alcoholic beverages have a surprisingly large number of calories.
If you’ve ever battled bloating or uncomfortable stomach gas, you know it’s no joke. But guess what? The ancient wisdom of yoga holds powerful solutions, perfectly suited for calm, coastal Mornington living. Ready to banish that pesky gas? With Bikram Yoga Mornington, let’s stretch, breathe, and detoxify your digestive system—yoga style.
Understanding Gas in the Stomach: Why It Happens
Before naming the hero asana, let’s get real about why gas accumulates in the stomach. Gas forms due to swallowed air, digestion of certain foods, or imbalances in gut bacteria. In Mornington’s laid-back lifestyle, with its fresh seafood and local produce, people often enjoy fiber-rich meals — great for digestion but sometimes a gas trigger.
Excess gas can cause bloating, cramping, and discomfort, throwing off your day or peaceful evening. Managing it naturally is always preferred over popping pills. Enter yoga—the age-old digestive detoxifier.
Why Yoga for Gas Relief?
Yoga is not just stretching; it’s a powerful system that stimulates the digestive organs, calms the nervous system, and promotes proper elimination of gas. The best part? You don’t need fancy equipment or gym memberships—just your body, a mat, and some Mornington tranquility.
Yoga boosts prana (life energy), improves blood flow to the digestive tract, and massages internal organs, easing trapped gas. Plus, the mindful breathing techniques lower stress, a known contributor to digestive upset.
The Ultimate Gas-Removing Asana: Pavanamuktasana (Wind-Relieving Pose)
The crown jewel for gas removal is Pavanamuktasana, literally translating to wind-relieving pose. This targeted yoga posture is renowned globally and especially effective for Mornington locals seeking natural relief from stomach bloating and gas pain.
How to Perform Pavanamuktasana:
Lie flat on your back on a yoga mat.
Bend your right knee and hug it gently towards your chest.
Keep your left leg extended and relaxed on the floor.
Press your lower back firmly into the mat to avoid arching.
Hold the position and take 4-5 deep, slow breaths.
Release and repeat with the left knee.
For added effect, hug both knees simultaneously towards the chest.
Hold for 20-30 seconds and repeat 3-4 rounds.
This pose helps compress the abdomen, massaging the intestines and helping trapped gas escape naturally. Mornington’s yoga studios like Bikram Yoga Mornington often incorporate this pose in digestive-focused classes, emphasizing slow breathing and mindful movement.
Other Beneficial Asanas for Gas Relief
While Pavanamuktasana is the star, several other poses complement your gas-busting routine. Incorporating a few of these can provide a full digestive reset:
Apanasana (Knees-to-Chest Pose): Similar to Pavanamuktasana but holding both knees simultaneously, offering a deep abdominal massage.
Ardha Matsyendrasana (Seated Spinal Twist): Twisting motions stimulate digestion and help move gas along the intestines.
Setu Bandhasana (Bridge Pose): Opens the chest and stretches the abdominal organs, improving circulation.
Bhujangasana (Cobra Pose): Gently compresses the abdomen and relieves tension.
These asanas help tone your digestive muscles and encourage peristalsis—the wave-like muscle contractions that move food and gas through your system.
Breathing Techniques to Enhance Gas Removal
Mornington yoga experts often pair asanas with pranayama (breathing exercises) to amplify gas relief:
Deep diaphragmatic breathing: Encourages full oxygen exchange and calms the gut.
Kapalabhati (Skull-Shining Breath): Energizes and stimulates abdominal organs but should be done cautiously if you have severe gas pain.
Breath control activates the parasympathetic nervous system, which shifts your body into ‘rest and digest’ mode—perfect for alleviating gas buildup.
Local Lifestyle Tips from Mornington for Digestive Health
Yoga alone isn’t a magic wand, but combined with local habits, you get a powerful synergy for gut health:
Mornington’s fresh, local diet: Incorporate more leafy greens, fermented foods like kimchi or yogurt (rich in probiotics), and minimize gas-inducing foods such as excessive beans or carbonated drinks.
Stay hydrated: Mornington’s coastal climate encourages hydration, which supports digestion and helps move gas through the system.
Avoid overeating: Smaller, mindful meals reduce gas and bloating.
Herbal teas: Locally sourced peppermint or ginger tea soothe the stomach and reduce gas.
How Often Should You Practice These Asanas?
Consistency is key. Ideally, perform gas-relieving yoga postures daily or at least 3-4 times a week, preferably after meals or whenever you feel bloated. Mornington yoga classes often schedule morning or early evening sessions perfect for digestive resets.
Scientific Backing & Expert Opinions
Studies show yoga enhances gastrointestinal motility and reduces symptoms like bloating and constipation. Dr. Lisa S., a gastroenterologist based in Melbourne, confirms, “Pavanamuktasana and similar yoga postures promote mechanical stimulation of the bowels, easing trapped gas and improving overall gut health.”
Local Mornington yoga instructor, Sarah P., adds: “Integrating mindful breathing with these postures creates a double effect—relaxing the gut muscles and calming the mind.”
FAQs: Clearing Up Your Gas Doubts
Q: Can yoga completely cure chronic gas issues? A: Yoga is highly effective for mild to moderate gas problems and can complement medical treatments for chronic issues. Always consult a healthcare professional if symptoms persist.
Q: Is Pavanamuktasana safe for everyone? A: Generally yes, but avoid if you have recent abdominal surgery, hernias, or severe back problems. Modify poses as needed.
Q: How soon will I notice improvement? A: Some relief is often immediate after practice, but consistent daily practice maximizes benefits over weeks.
Wrapping It Up: Your Gas-Free Mornington Life
If you’re asking, “Which asana removes gas from the stomach?”, the clear answer is Pavanamuktasana (Wind-Relieving Pose). This pose, alongside complementary yoga postures and mindful breathing, forms a powerful natural remedy to stomach gas and bloating.
For Mornington residents, integrating these simple yoga techniques with a fresh local diet, regular hydration, and daily movement can transform digestive health. Plus, yoga adds a moment of calm and mindfulness to your busy day—a double win!
So grab your mat, find a quiet spot overlooking Mornington Bay, and let Pavanamuktasana be your ticket to a happier, lighter stomach. Namaste and gas be gone!
Mold inspectors are more reliable than DIY testing kits when it comes to evaluating mold in your home. They use advanced tools to identify hidden mold growth and provide detailed inspection reports on findings, helping you address any mold problem or mold issue effectively.
While DIY kits are cost-effective, their limited accuracy can lead to misleading results, often missing critical information about airborne mold spores or hidden mold damage. If you’re facing potential health risks, visible mold, or planning a property transaction, hiring a professional mold inspector is your best bet for peace of mind and a safe indoor environment.
Understanding Mold and Its Health Risks
Although mold is a common issue in homes and commercial properties, it can pose significant health risks that shouldn’t be ignored.
Exposure to indoor mold growth can lead to a range of potential health concerns, particularly for individuals with allergies, asthma, or weakened immune systems. Symptoms such as coughing, sneezing, and skin irritation can arise, impacting overall comfort and indoor air quality.
If mold is present inside walls, HVAC systems, or crawlspaces, it may release microscopic spores and mycotoxins that affect respiratory health. Recognizing early signs such as musty odors or visible growth allows you to act quickly. Addressing moisture problems or water damage can prevent the spread of mold spores and protect your family’s well-being.
The Role of Mold Inspectors
When it comes to solving mold problems in your home or business, hiring a licensed mold inspector makes all the difference.
These professionals specialize in mold inspection and testing, identifying the presence of mold, the type of mold, and the amount of mold present. They conduct thorough sampling and often use tools like moisture meters, thermal imaging cameras, air tests, and visual inspections to locate hidden water intrusion sources that allow mold to grow.
Mold inspectors provide unbiased inspection services and detailed documentation to help you understand the remediation process and determine whether professional remediation companies are required. This attention to detail helps maintain your property’s air quality and prevents further mold damage.
Advantages of Hiring Mold Inspectors
Hiring a mold inspector offers numerous benefits that can save you both time and money in the long run.
Expertise: Mold inspectors are trained to detect mold growing inside walls or hidden behind porous surfaces that are not visible to the naked eye.
Comprehensive Inspection: They include testing, sampling, and lab analysis, ensuring you get accurate lab results before taking action.
Detailed Reports: You receive an unbiased inspection report outlining affected areas and recommendations for mold remediation or removal.
Documentation for Insurance and Sales: A professional home inspection that reveals mold issues can aid in property transactions or claims.
Ultimately, investing in a mold inspection gives you peace of mind and helps fix the problem correctly the first time.
Limitations of Mold Inspectors
While hiring professionals has advantages, there are a few considerations to keep in mind.
The cost of a mold inspection can range depending on the property’s size, the extent of mold damage, and required sampling. Some inspectors rely primarily on visual inspection, which might not detect mold hidden inside walls, flooring, or ductwork within an HVAC system.
It’s also possible to encounter conflict of interest if inspectors are affiliated with remediation companies. To avoid this, consider using unbiased mold inspectors who do not offer mold removal services directly but can recommend qualified remediators for follow-up.
Overview of DIY Testing Kits
DIY mold testing kits provide a simple, hands-on approach for getting an inspection quickly at home. They typically include items for surface and air sampling to detect the presence of mold or spores.
While convenient, they lack the precision and depth that a certified mold inspection and remediation process offer. DIY kits cannot analyze how severe the mold issue is or confirm if samples are within safe levels.
They also do not help identify the water source or high humidity problems that allow mold to grow. Therefore, these kits can serve as an initial step but shouldn’t replace a full mold inspection and mold testing service.
Benefits of Using DIY Testing Kits
Using a DIY mold test kit can be a good starting point for homeowners wanting to understand their indoor environment.
They’re convenient for getting a mold check without scheduling an appointment.
Kits are affordable, often much less than the average cost of a professional inspection.
You can decide when and where to test specific areas like basements, bathrooms, or crawlspaces.
However, these kits are best used as a preliminary measure before scheduling a professional inspection and remediation.
Drawbacks of DIY Testing Kits
While DIY kits provide basic insight, they have several limitations:
Limited Accuracy: Kits may fail to identify the exact type of mold or correctly assess spore concentrations.
False Results: Lab contamination or poor sampling techniques can produce false positives or negatives.
No Professional Guidance: Without expert analysis, understanding results or next steps for remediation is difficult.
Incomplete Coverage: Single test points may miss mold growing in hidden affected areas.
Due to these drawbacks, many homeowners prefer getting a professional inspection and testing service for accurate and actionable results.
Cost Comparison: Mold Inspectors vs. DIY Kits
When comparing the inspection cost, professional mold inspection services typically range between $300 to $1,000, depending on specific conditions and whether air samples or surface sampling are required.
DIY mold testing kits usually cost between $10 and $50, but these tools rarely provide sufficient data for the remediation process or insight into moisture problems or water damage.
By investing in a complete mold inspection and remediation plan, homeowners gain not only detailed findings but long-term protection from recurring mold issues.
When to Choose a Mold Inspector
Knowing when to get a mold inspection helps prevent greater damage and ensures your indoor air quality remains safe.
You should hire a certified mold inspector if you have:
Visible Mold: Any visible growth or musty odor should trigger a professional inspection.
Water Damage: After leaks or flooding, getting an inspection ensures no hidden mold to grow behind surfaces.
Health Concerns: Respiratory issues or allergies may signal a mold problem.
Property Transactions: A home inspection before purchase often requires mold testing for transparency.
A professional can inspect, identify whether a problem exists, and provide steps toward the correct remediation process.
Make the Right Choice for Your Home
Deciding between a DIY mold test and a professional inspection is crucial. DIY kits can give you quick insights, but they lack the depth and reliability of inspection services conducted by qualified mold inspectors.
If mold is present, professionals can conduct air tests, identify the type of mold, and pinpoint its origin, whether it’s from water intrusion, high humidity, or HVAC contamination. This allows them to guide you toward an appropriate mold remediation process and ensure safe levels of air quality are restored.
In the long run, hiring a licensed mold inspector who can conduct detailed mold inspection and testing brings confidence and accuracy that DIY kits cannot match.
Get Certified Mold Inspections and Testing Near You
At Golden State Mold Inspections, we specialize in mold inspection and mold testing for your home or business across Southern California, giving you reliable results and total peace of mind.
We offer comprehensive inspection services that include air samples, testing and sampling, pre- and post-assessments, bulk lead paint testing, and complete inspection reports detailing every affected area. Our licensed mold inspectors use professional HVAC system checks, thermal imaging, and moisture meter readings to detect indoor mold growth, even when it isn’t visible to the naked eye.
We do not perform mold removal or remediation directly ensuring there’s no conflict of interest. But we provide clear, step-by-step guidance to help you find qualified remediators.
Whether you’re buying or selling a property, dealing with similar issues in the past, or suspect hidden mold growing inside a wall, get estimates from the most trusted mold inspection company in Los Angeles. Book an appointment and experience the best in mold inspection and testing services at unbeatable prices.